How to Loosen Stiff Articulated Joints Safely
Table of Contents
Last Updated: November 2, 2026
Why Articulated Joints Get Stiff
Stiff joints on articulated figures are almost always caused by one of three things, so knowing how to loosen stiff articulated joints starts with diagnosing the cause: tight tolerances, dried-out lubricant, or plastic that has seized under tension. A joint that moves freely on day one can stiffen after months on a shelf.
Here is what usually happens:
Friction builds up where two printed surfaces rub together without enough clearance
Oils and dust collect in the joint socket and turn into a grit that grinds the plastic
Heat and sunlight can soften or warp thin printed parts, pinching the joint tighter
Repeated posing over time can flatten the contact points, causing a loose or sticky feel
Understanding the cause helps you pick the right fix when you need to know how to loosen stiff articulated joints without damaging them. A joint that is grimy needs cleaning, not force. A joint that is tight from the start may need a different approach altogether.
How to Loosen Stiff Action Figure Joints Step by Step
Work slowly. Most damage happens when people force a joint past its natural range. Follow these steps in order, and stop as soon as the joint moves freely.

Gentle Flexing and Warm Water Soak
Start with the gentlest method. Many stiff joints loosen with simple, controlled movement.
Move the joint back and forth through its full range, about 10 to 15 times, without forcing past the stopping point.
If the joint is still stiff, soak the figure in warm (not hot) water for 10 to 15 minutes to help remove dust and old residue.
Dry the piece completely with a soft cloth before testing the joint again.
Flex the joint again after drying. Repeat once more if needed.
Watch out: Do not use boiling water or leave printed parts in hot water for long periods. Heat can warp the plastic and make the joint tighter.
Applying Silicone Oil or Clear Nail Polish
If flexing and cleaning do not work, a thin lubricant may help. Two common options are silicone oil and clear nail polish, and each suits different situations.
Silicone oil works best for joints that feel dry or gritty. Apply one tiny drop with a toothpick and work it in by flexing the joint.
Clear nail polish is useful only for joints that are too loose and need tightening. Apply a very thin coat to the ball, let it cure, then test.
Start with a small amount. You can always add more later, but removing excess oil or polish is much harder.
3D-Printed Articulated Toy Joint Troubleshooting
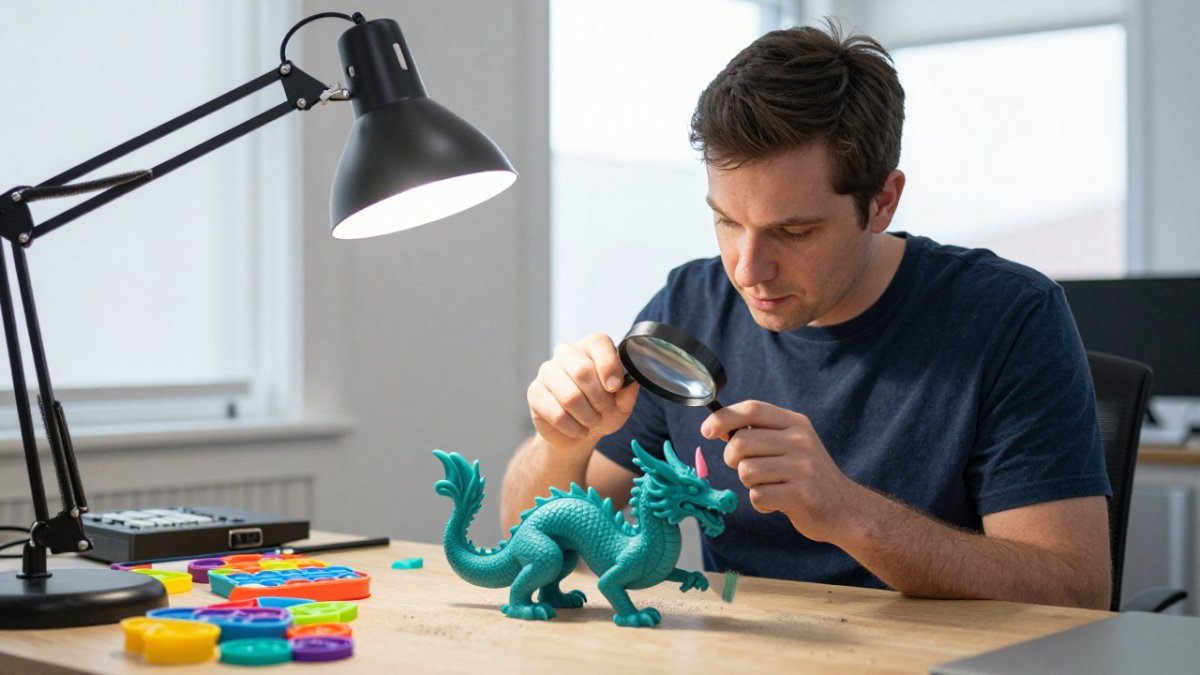
Not every stiff joint is the same, and a quick check helps you choose the right fix. Start by asking whether the joint feels gritty, sticky, or simply too tight.
Matt Ma Films
Gritty feel: Clean the socket with a soft brush and warm water, then add a drop of silicone oil.
Sticky feel: Wipe off old residue with isopropyl alcohol, let it dry fully, then flex the joint.
Tight from the start: The printed clearance may be too small. Flex gently first. Avoid forcing it.
Loose and wobbly: A thin coat of clear nail polish on the ball may help. Let it cure for several hours before testing.
If the joint cracks, whitens, or feels brittle, stop. A damaged joint needs repair, not more force.
Sanding Tight 3D-Printed Joints Without Ruining Them
Sanding can free a joint that is rubbing on a high spot, but it is easy to remove too much material. Use a fine-grit sanding stick (around 400 grit or finer) and work in very short strokes.
Remove the part from the figure if you can.
Sand only the contact surface, checking the fit every few strokes.
Stop as soon as the joint moves smoothly.
Clean away all dust before reassembling.
Sanding removes material permanently. If you are unsure, skip it and try the flexing and oil methods first.
Materials and Joint Types: Safety and Reversibility
The material and joint design decide how safe a repair is and how easy it is to undo. Most guides stop at "be careful," but the real risk is chemical: certain solvents and lubricants attack specific plastics and can soften, craze, or melt a figure permanently. Before you touch a stiff joint, identify the plastic and the joint mechanism.
Plastic-by-plastic compatibility
PLA (polylactic acid): Common in hobby prints and forgiving. Warm water and gentle flexing are usually safe. Silicone oil is compatible and can be wiped off later with isopropyl alcohol. Avoid acetone and strong solvent glues, they will dull the surface and can soften thin walls.
PETG (polyethylene terephthalate glycol): Handles heat a bit better than PLA but still softens in hot water, so keep soaks short. It resists most oils well. Solvent glues designed for styrene can haze the surface; test on a hidden area first.
ABS (acrylonitrile butadiene styrene): This is where most damage happens. Acetone and acetone-based glues dissolve ABS, which is useful for welding a permanent seam but disastrous on a joint you want to keep moving. A drop of acetone in a ball socket can fuse the ball to the cup. Keep acetone, MEK, and styrene-model cements away from any joint you intend to articulate.
PVC (polyvinyl chloride): Found in many factory-molded figures and some vinyl toys. Plasticizer migration makes PVC soft and sticky over time, and strong solvents can leach plasticizer and leave the surface brittle. Avoid acetone and lacquer thinner. Silicone oil is generally safe; test any cleaner on the underside first.
A common pattern is that a fix that works perfectly on PLA ruins an ABS or resin piece. When in doubt, test a drop of any oil, polish, or cleaner on an inconspicuous area and wait 24 hours before applying it to the joint.
Joint-mechanism notes
Ball-and-socket joints tolerate light adjustment well because the contact is a single sphere; a thin film of clear nail polish on the ball tightens a loose fit, and a drop of silicone oil frees a dry one.
Hinge joints (pin-and-knuckle) can crack if forced sideways; flex them only along their intended arc, and never pry the knuckle open with a tool.
Swivel and peg joints are the most forgiving; a stuck peg usually responds to gentle twisting plus a drop of oil rather than force.
How to reverse a fix
Reversibility should drive which method you try first. Work from most reversible to least:
Silicone oil, wipe away with isopropyl alcohol on a cotton swab, then re-flex. Fully reversible on PLA, PETG, and most PVC.
Clear nail polish (tightening), removable with non-acetone polish remover on many plastics, but acetone-based remover will attack ABS and PVC. Test first; on ABS, treat nail polish as semi-permanent.
Sanding, permanent. You cannot add material back, so sand only after flexing and oil have failed, and check fit every few strokes.
Solvent welding or super glue, permanent and the highest-risk category. Cyanoacrylate (super glue) can fog nearby surfaces with white bloom and bonds skin instantly; keep it away from any joint meant to move, and never use it as a lubricant substitute.
Watch out: Acetone-based nail polish remover and styrene model cement will melt ABS and can craze PVC, if you do not know the plastic, do not use them on a joint.
If a joint cracks, whitens, or feels brittle after any treatment, stop.
The table below sums up which plastics tolerate which fixes, so you can check your figure's material before applying any solvent or lubricant.
Plastic | Safe to use | Avoid |
PLA | Warm water, gentle flexing, silicone oil | Acetone, strong solvent glues |
PETG | Short soaks, most oils | Hot-water soaks, styrene cements without testing |
ABS | Gentle flexing, silicone oil | Acetone, acetone-based glues, MEK, styrene cements |
PVC | Silicone oil | Acetone, lacquer thinner |
Resin | Gentlest mechanical method | Heat, acetone, prolonged isopropyl alcohol soaks |
How to Prevent 3D-Printed Joints From Breaking
Prevention is far easier than repair, and the biggest variables are environmental. Factory-molded plastics and 3D-printed parts respond differently to humidity and temperature, and most seized joints are a storage problem rather than a manufacturing defect.
Control humidity and temperature
PLA is hygroscopic. It absorbs moisture from the air, and a figure stored in a damp basement or near a bathroom can swell slightly at tight clearances, pinching joints. Keep long-term storage below roughly 50% relative humidity; a simple hygrometer and a sealed bin with silica gel packs will do it.
PETG and ABS are less moisture-sensitive but still expand and contract with heat. A shelf in direct sun or above a radiator can push a thin printed joint past its tolerance, and repeated heat cycles loosen press-fit pins over time.
Resin prints are the most temperature-sensitive; store them away from windows and heaters, because heat can warp thin joint arms permanently.
Seasonal check: joints that feel fine in winter often stiffen in summer humidity. Re-check fit at the start of each season and flex stiff joints gently before posing.
Storage habits that keep joints free
Store figures in a closed bin or cabinet rather than open shelving, so dust does not settle into sockets and turn into grinding grit.
Pose joints in a neutral, mid-range position for storage, not fully extended or fully bent, so the plastic is not under constant tension.
Avoid stacking heavy pieces on top of articulated figures; sustained pressure flattens contact points and creates the sticky-then-loose cycle.
Keep silica gel packs in the bin and replace them when the indicator changes, especially in humid climates.
A simple maintenance schedule
Monthly (posed display pieces): dust with a soft brush and flex each joint through its range a few times.
Every six months: check for grit or dryness and add one tiny drop of silicone oil to any joint that feels dry, then wipe away excess.
Annually: inspect press-fit pins and ball sockets for whitening or cracks, and re-check storage humidity.
Good design also helps. When you shop for articulated prints, look for clean, even clearance around each joint and well-supported thin parts. For more on what to look for, read our guide on how to choose high-quality 3D-printed fidgets.
Booking a Repair or Choosing Your Next Articulated Print
Some joints are simply too damaged to fix at home. If a joint has cracked or the part no longer holds its position, a repair may be the better choice. Pricing depends on the piece and the work involved, so check our website for current options or request a quote.
If you are looking for a new articulated figure, browse our 9 best 3D printed anime collectibles for 2026.
Frequently Asked Questions
How do you loosen stiff joints on an articulated figure?
Start by gently flexing the joint back and forth through its full range of motion, which often works loose a tight fit without any product. If it stays stuck, apply a small amount of silicone oil or a thin coat of clear nail polish to the socket edge, work the joint repeatedly, and let it cure. Avoid forcing the limb, since cracks at the pivot point are the most common way these prints break. Test each small change before adding more.
Can you use warm water to loosen a stiff toy joint?
Warm water can help in some cases, especially with PLA prints that have been sitting in a warm room or a hot car, because gentle warmth slightly relaxes the plastic. Soak only the joint area in warm, not hot, water for a few minutes, then flex it while still warm. Do not use boiling water or a heat gun on styrene or other plastics, because they can warp or lose their shape. Always dry the piece completely before adding any lubricant.
Should you sand a stiff 3D-printed joint?
Light sanding is sometimes needed when layer lines or a rough print create friction in the socket, but it should be a last resort. Remove only a small amount of material with fine-grit sandpaper, check the fit often, and stop once the joint moves freely. Sanding is not reversible, so it can leave a joint too loose to hold a pose if you go too far. Start with flexing and lubrication first.
How do you keep 3D-printed joints from getting stiff or stuck?
Flex articulated pieces periodically and store figures out of direct sunlight and heat, since warping and stiffening are both more likely in hot environments. A very light coat of silicone oil on the joint surfaces can help maintain movement over time. Keep the print settings consistent so joint tolerances stay predictable across batches.
Ready to find your next smooth-moving piece? Join the Carolina Printworx3D community and explore our articulating prints, dragons, and collectibles built to move the way you want them to.
Comments